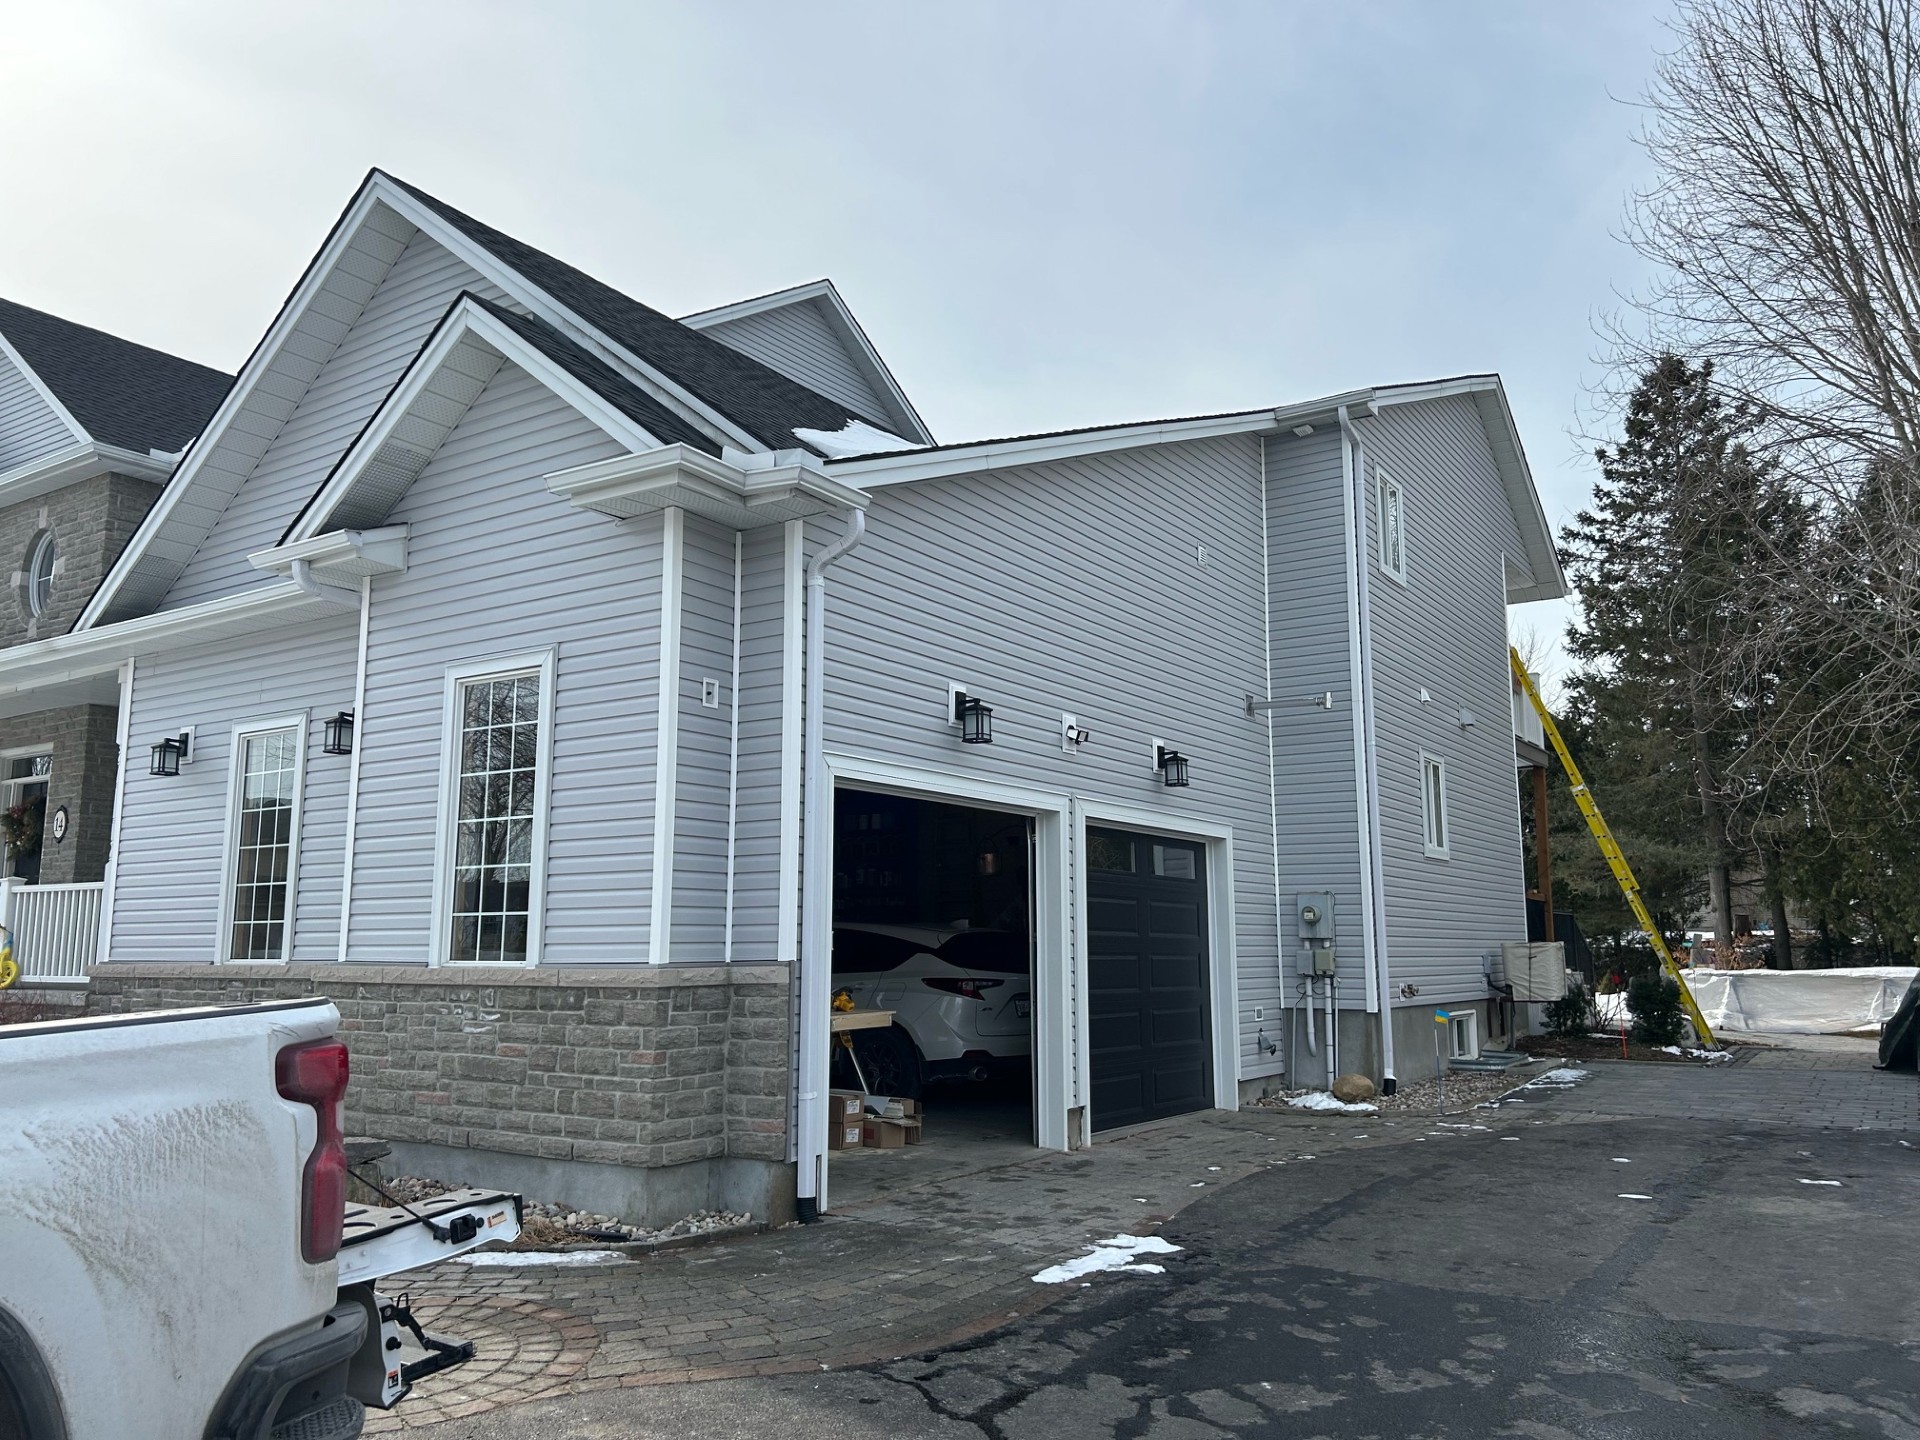
Replacing or installing siding is one of the most effective ways to enhance your home’s appearance, improve its insulation, and increase its value. Yet, for many homeowners, the process of siding installation remains a mystery. Understanding what goes into a siding installation can help you make informed decisions, prepare your home, and ensure that the project runs smoothly from start to finish. In this article, we’ll cover everything you need to know about what to expect during a siding installation, from initial planning to the final reveal, so you can embark on your siding journey with confidence.

1. Preparing for a Siding Installation
Before the actual siding installation begins, there are several preparatory steps that both you and your contractor will take to set the stage for a successful project. From choosing materials to clearing the work area, preparing for siding installation ensures a smooth start.
Selecting the Right Siding Material
Choosing the right siding material is one of the most critical decisions in the process. Your options may include vinyl, fiber cement, wood, or aluminum, each offering unique benefits in terms of appearance, durability, and maintenance. A professional contractor can help you assess which material best fits your budget, climate, and style preferences.
Budgeting and Timeline
Setting a realistic budget and timeline is crucial. Discuss with your contractor to get a clear estimate and understand the factors that could affect both cost and schedule. A standard siding installation may take a few days to a week, depending on the home’s size, siding type, and the team’s efficiency.
Preparing Your Property
To ensure safety and efficiency, clear any obstructions around your home, such as outdoor furniture, grills, and decorations. Your contractor may also place protective coverings over windows, doors, and landscaping to prevent damage during the installation.
2. Initial Inspection and Old Siding Removal
Most siding installations begin with an initial inspection and the removal of any existing siding. Removing old siding is a necessary step to assess the structure’s health and prepare a clean surface for the new siding.
Inspecting for Underlying Damage
Once the old siding is removed, the contractor will inspect the underlying structure for damage, mold, or rot. If any issues are discovered, they must be addressed before installing the new siding, ensuring your home’s structure remains strong and damage-free.
Proper Disposal of Old Siding
Your contractor will typically handle the disposal of old siding, using either a dumpster or removal service. This step ensures that the work area remains clean and safe, making the installation process more efficient.
3. Installing a Weather Barrier
A weather-resistant barrier is a critical component of siding installation. This layer acts as an extra defense against moisture, wind, and other elements, enhancing your home’s insulation and protecting against potential damage.
Benefits of a Weather Barrier
Installing a weather barrier helps prevent water from infiltrating your home’s structure. This is especially important in climates with heavy rainfall, as moisture trapped behind siding can lead to mold, rot, and other structural problems.
Types of Weather Barriers
Most contractors use materials like house wrap or felt paper for the weather barrier, which provides a breathable, water-resistant layer that keeps moisture out while allowing trapped air to escape.
4. Insulating Your Home’s Exterior
For added energy efficiency, many homeowners opt to add insulation during siding installation. Insulation enhances thermal efficiency, helping maintain indoor temperatures while reducing energy costs.
Common Insulation Options
Exterior insulation options include foam board insulation or integrated insulation in vinyl siding. Foam board is installed beneath the siding, while insulated vinyl siding has built-in insulation, providing a seamless, energy-efficient solution.
Benefits of Exterior Insulation
Adding insulation can improve comfort and reduce heating and cooling costs. It also helps minimize noise from the outside, providing a quieter indoor environment.
5. Siding Layout and Installation Process
The siding installation begins once the weather barrier and insulation are in place. This step involves carefully measuring, cutting, and aligning each siding panel to ensure a snug fit and polished look.
Measuring and Cutting
Precise measurements and cuts are essential for a seamless installation. Skilled contractors use specialized tools to cut siding panels accurately, ensuring they align perfectly with windows, doors, and corners.
Installation Techniques
The installation technique varies depending on the material. Vinyl siding, for example, is typically nailed in place with room for slight expansion and contraction due to temperature changes, while fiber cement siding requires specific installation to prevent cracking.
6. Installing Trim and Flashing
Trim and flashing are added after the main siding panels to give the exterior a finished, professional look. These elements also play a role in sealing edges and protecting the structure from water.
Importance of Trim
Trim around doors, windows, and corners not only enhances the aesthetic but also provides extra protection against weather exposure. Quality trim is crucial for achieving a complete and polished look.
Adding Flashing for Water Protection
Flashing is installed to direct water away from vulnerable areas, such as around doors, windows, and edges. Proper flashing installation helps protect your home from leaks and moisture damage.
7. Painting or Staining (if Necessary)
Some siding materials, such as wood or fiber cement, may require painting or staining after installation. This step provides an extra layer of protection and allows you to customize the siding color to match your home’s aesthetic.
Choosing the Right Paint or Stain
When painting or staining siding, it’s essential to select products specifically designed for outdoor use, ensuring they withstand the elements and maintain their color for years to come.
Maintenance Considerations
Painting or staining may require maintenance every few years to keep the siding looking fresh and protected. Regular upkeep can significantly extend the lifespan of painted or stained siding.
8. Final Inspection and Quality Check
Once the installation is complete, the contractor will conduct a final inspection to ensure quality and precision. This step ensures that all components are securely in place and that the siding meets the agreed-upon standards.
Verifying Proper Installation
During the final inspection, the contractor checks for alignment, secure attachment, and proper sealing around windows and doors. Any adjustments or repairs are made to achieve a flawless finish.
Addressing Any Issues
If any issues arise during the final inspection, the contractor will address them before considering the job complete. This step ensures you’re left with siding that looks great and performs effectively.
9. Cleanup and Disposal
A professional siding installation team will clean up the work area after completing the job, removing any remaining materials, debris, or protective coverings. This ensures that your property is left in pristine condition.
Responsible Disposal of Waste
Proper disposal of waste materials, including old siding and unused new materials, is part of the cleanup process. Many contractors recycle materials when possible, contributing to a more eco-friendly installation process.
10. Post-Installation Maintenance Tips
After installation, your new siding will require minimal but consistent maintenance to keep it looking fresh and in top condition. Knowing how to maintain your siding ensures it lasts for years without needing major repairs.
Regular Cleaning
Dirt, grime, and mildew can accumulate on siding over time. Cleaning your siding once or twice a year with a mild detergent and water can help keep it looking new.
Inspections and Minor Repairs
Inspect your siding at least once a year for any signs of damage, such as cracks, warping, or fading. Addressing these issues early can prevent more extensive repairs down the road.
Conclusion: What to Expect During a Siding Installation
A siding installation is a detailed, multi-step process designed to protect, insulate, and beautify your home. Understanding what to expect during a siding installation allows you to prepare effectively, make informed decisions, and ensure a smooth experience from start to finish. From the initial inspection and removal of old siding to the final cleanup and post-installation care, each step contributes to a durable, visually appealing exterior.
Choosing the right materials, working with skilled contractors, and following up with regular maintenance can help you maximize the benefits of your new siding. By investing in high-quality siding and proper installation, you’ll enjoy a home that looks great, withstands the elements, and maintains its value for many years to come.


