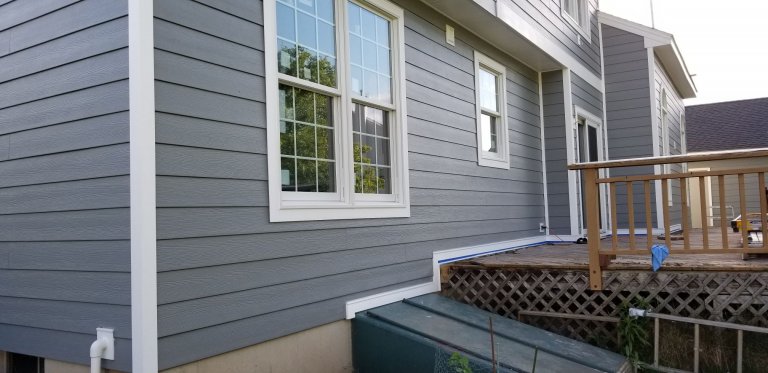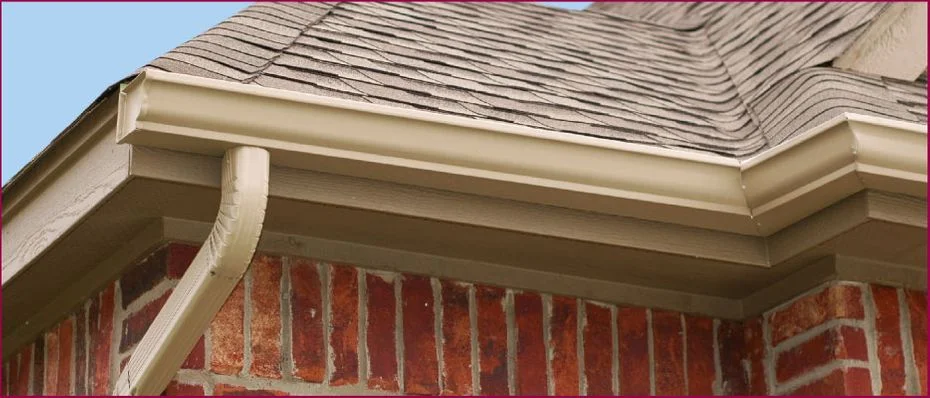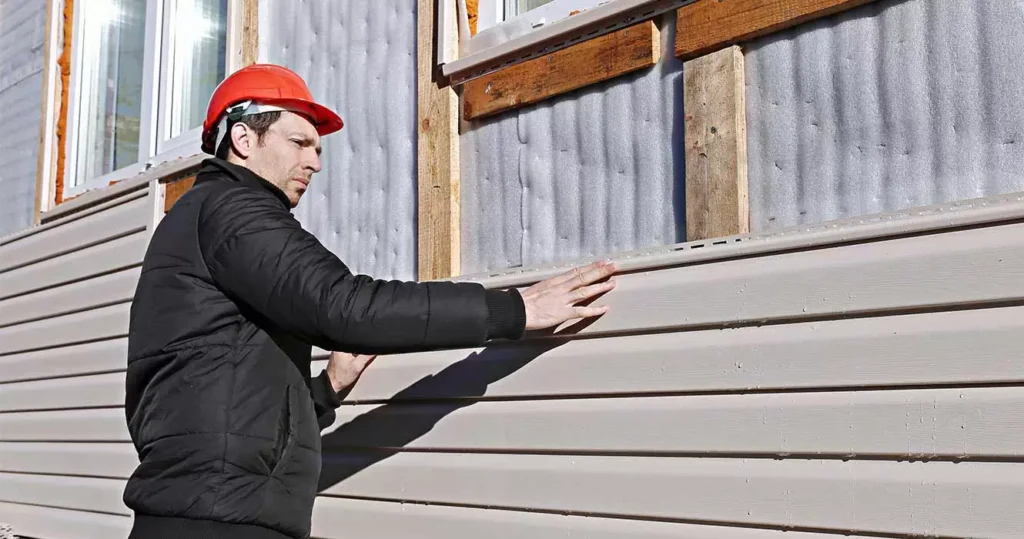
Embarking on a siding installation project for your home can feel daunting, especially if you’re unsure of what the process entails. However, understanding each step can ease any worries and ensure you’re prepared for what lies ahead. In this article, we’ll guide you through the step-by-step process of new siding installation, helping you know what to expect and how to prepare.
Step 1: Initial Consultation and Inspection
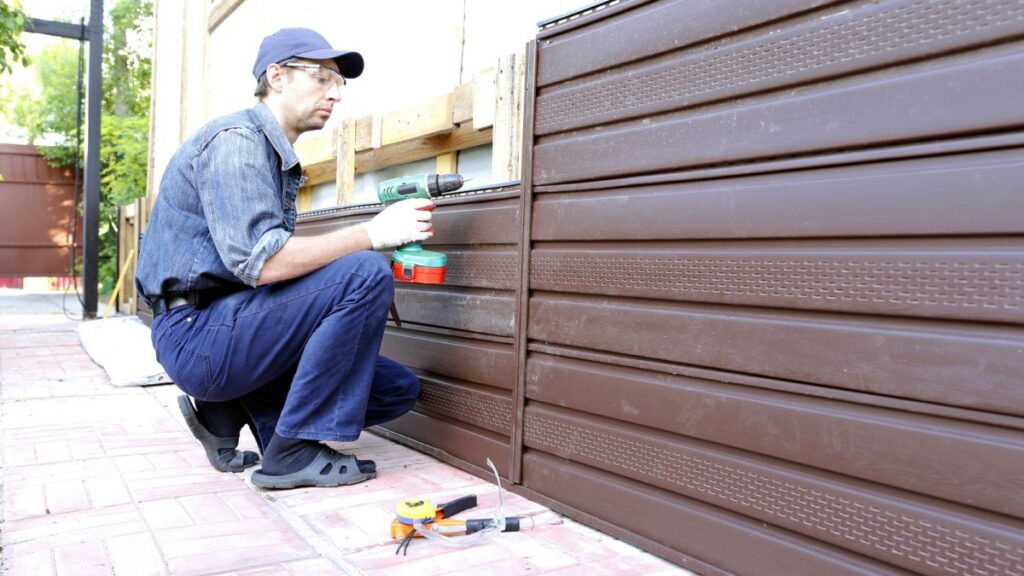
The first step in any siding installation project is a consultation with a siding professional. They will evaluate the current condition of your home’s exterior, discuss your preferences, budget, and help you choose the appropriate siding material. A detailed inspection will also be conducted to assess any underlying structural issues that need to be addressed before the new siding is installed.
Step 2: Quotation and Agreement
Once your needs and preferences are clearly defined, the siding company will provide a detailed quote. This will include the cost of materials, labour, and any other necessary expenses. Once you agree to the terms, a contract will be drawn up outlining the project’s scope, cost, timeline, and any other relevant details.
Step 3: Ordering and Delivery of Materials
With the contract signed, the siding company will then order your chosen siding material. The time it takes for the materials to arrive can vary depending on their type and availability. Once the materials are delivered, the real work begins.
Step 4: Removal of Old Siding
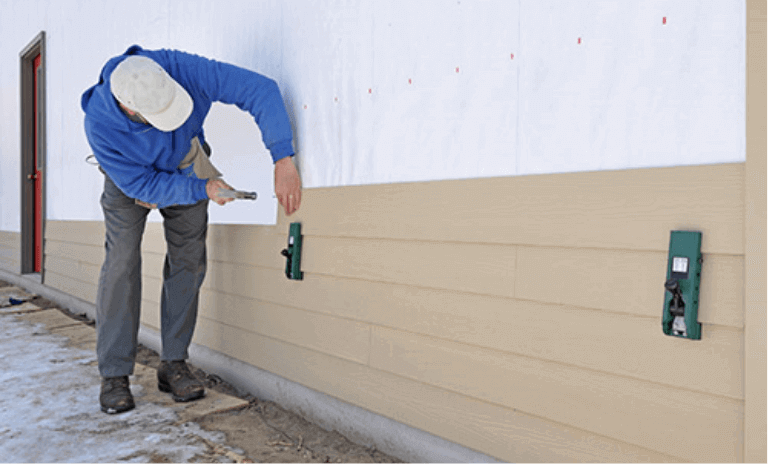
Before new siding can be installed, the existing siding must be carefully removed. This process involves taking off the old materials without causing unnecessary damage to your home’s underlying structure. Any waste will be properly disposed of in this step.
Step 5: Inspection and Repair of Underlying Structure
With the old siding removed, the contractor will inspect the underlying structure for any signs of damage, such as rot or mould. If damage is found, necessary repairs will be made to ensure the new siding can be properly installed and perform effectively.
Step 6: Installation of New Siding
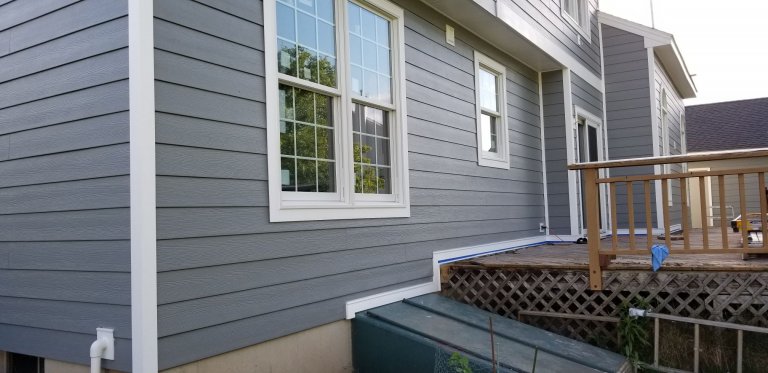
Now the moment you’ve been waiting for – the installation of your new siding. The precise steps here can vary based on the type of siding you’ve chosen. Regardless of the material, it will be securely fastened to your home, ensuring it provides the necessary protection and aesthetics.
Step 7: Clean-up and Final Inspection
After the new siding is installed, the installation crew will clean up the worksite, removing any debris and leftover materials. A final inspection will be conducted to ensure the installation meets the quality standards and that you’re satisfied with the work.
Step 8: Enjoy Your New Siding!
With everything cleaned up and the work complete, you can now enjoy the fresh, new look of your home! Remember to ask about any necessary maintenance to keep your new siding looking great for years to come.
Conclusion
A siding installation project is a significant undertaking that can greatly improve the look and value of your home. Knowing what to expect during the process can make the experience much less stressful and more enjoyable. Remember, a good siding contractor will keep you informed at each step and answer any questions you have along the way. So, get ready to enjoy the transformation of your home with your new siding installation!

